Project Number 1-We're number 1
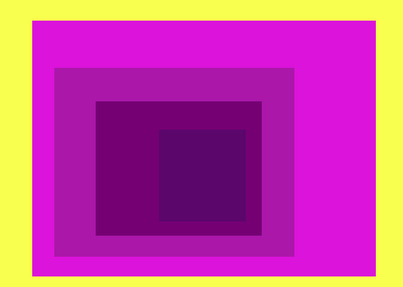
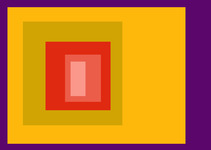
Josef Albers |
For this project we learned about how to use the rectangular marquee tool and how to color them
Josef Albers was an American painter who worked both in Europe and the United States. Born in 1888, he founded some of the most important art education programs in the past century. |
Project 2 |
|
|
|
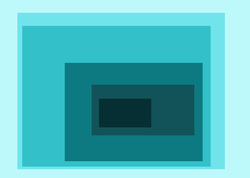
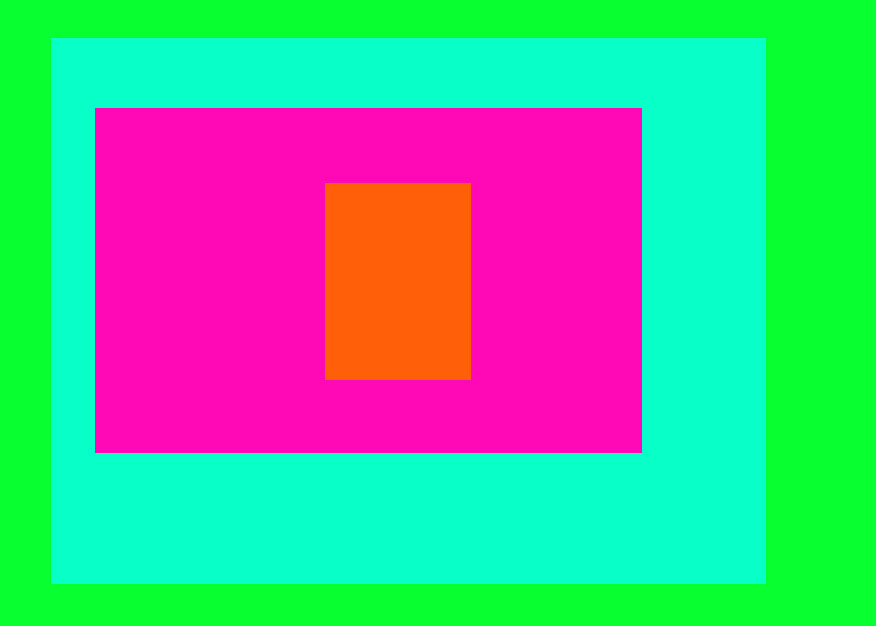
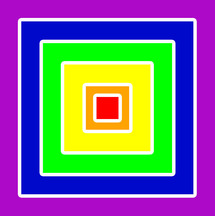
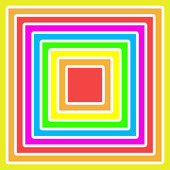
Frank Stella |
With this project we worked with the rectangular marquee tool and learned how to use stroke
Frank Stella was an American painter and print maker. Born in 1936, he was known for his use of minimalism and abstraction. |
|
|
Project 3
I made a signature. I did this by taking a picture of my signature, using the magic erase tool to get rid of everything but the signature, and then I defined it as a brush preset.

Project 4
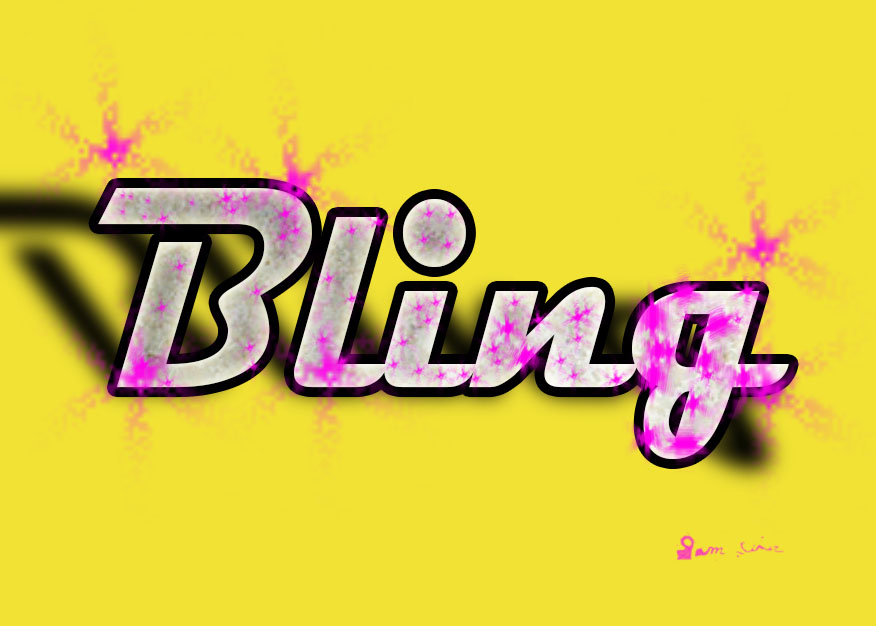
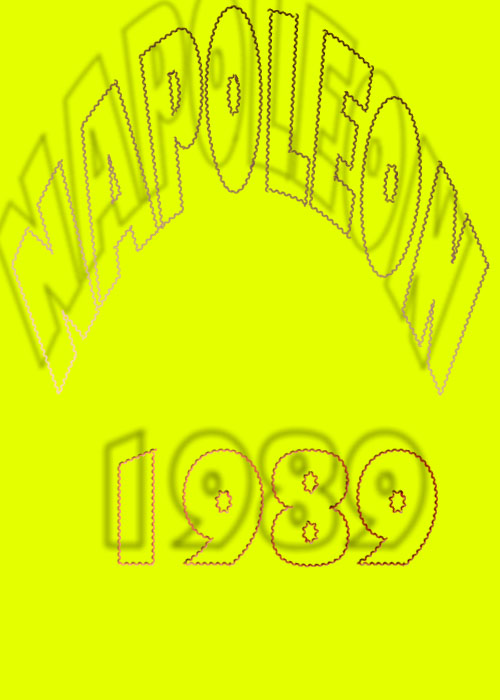
Bling
Bling Bling Bro-in this project I worked with the text tool and then used layer styles in order to make it look beautiful. So beautiful. Also, I did the same thing I used for the signature in order to get the Napoleon brush.
|

|
Project 5
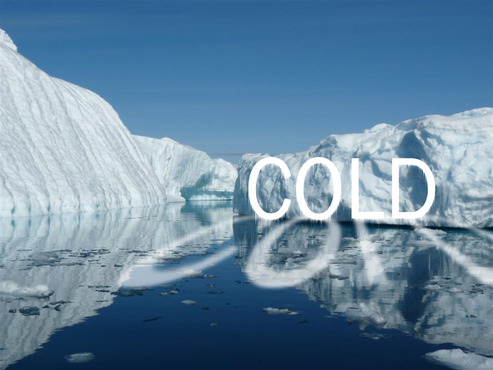
Cold |
In this project I worked with the text tool, transformations, and the wind tool in order to get the icicles and to flip a copy of the original text around and then used the eraser tool with a lowered opacity in order to make the lower cold look like a reflection.
|
|
|
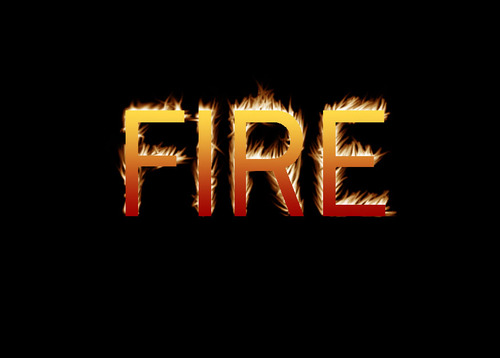
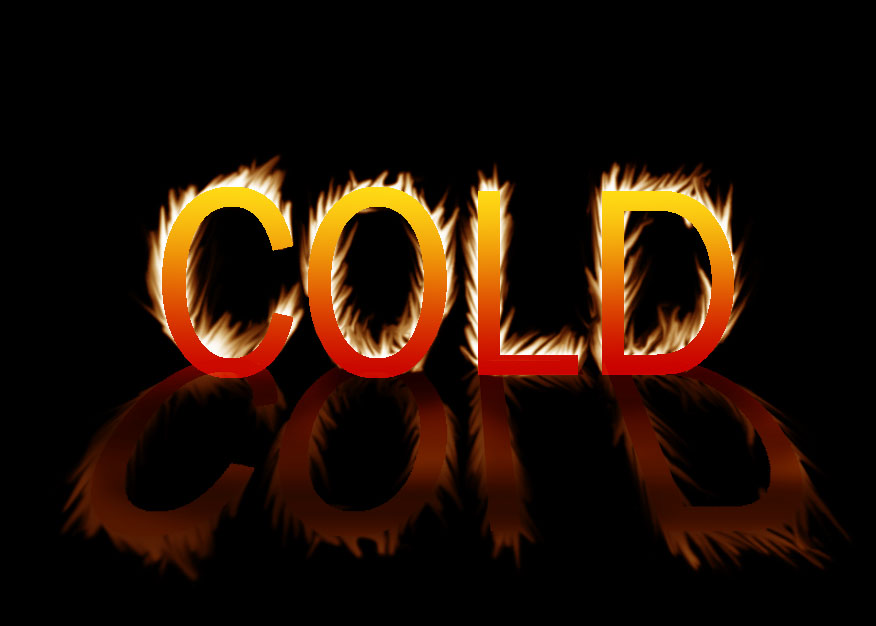
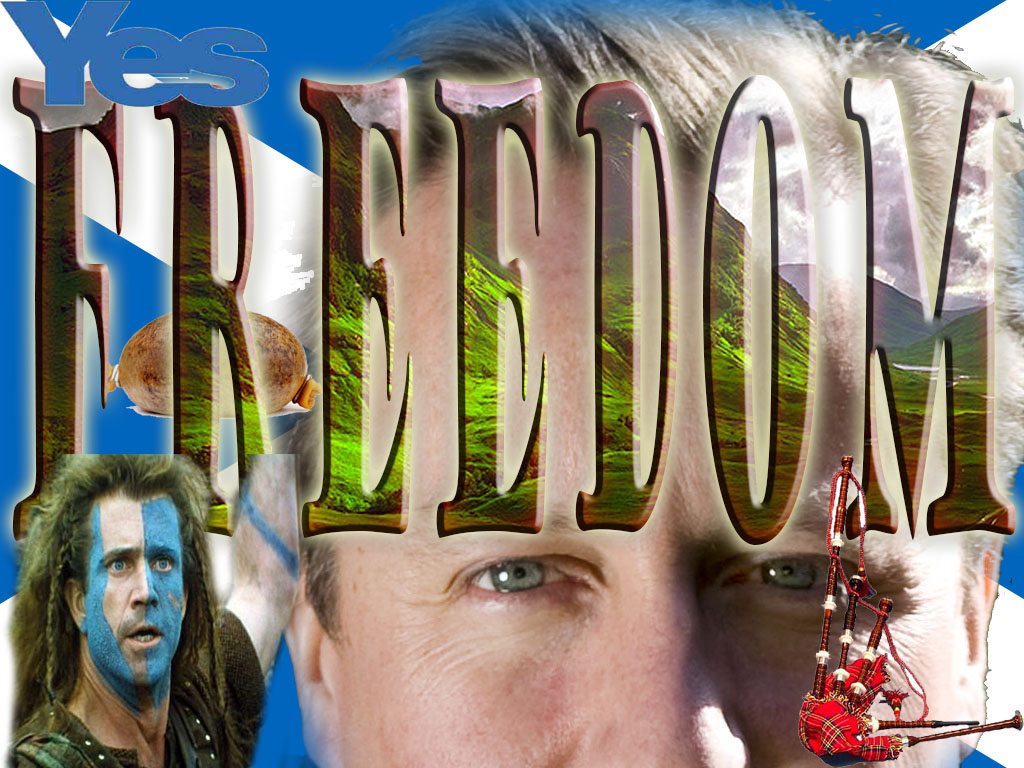
Project 6
I'm
|
With this project I worked with the text tool, made a copy of said text, and then used the smudge tool to make it look like fire. Then I used the gradient tool to make the letters the cool colors, and then used the color balance adjustment layer to make the outer areas look like fire.
|
|
|
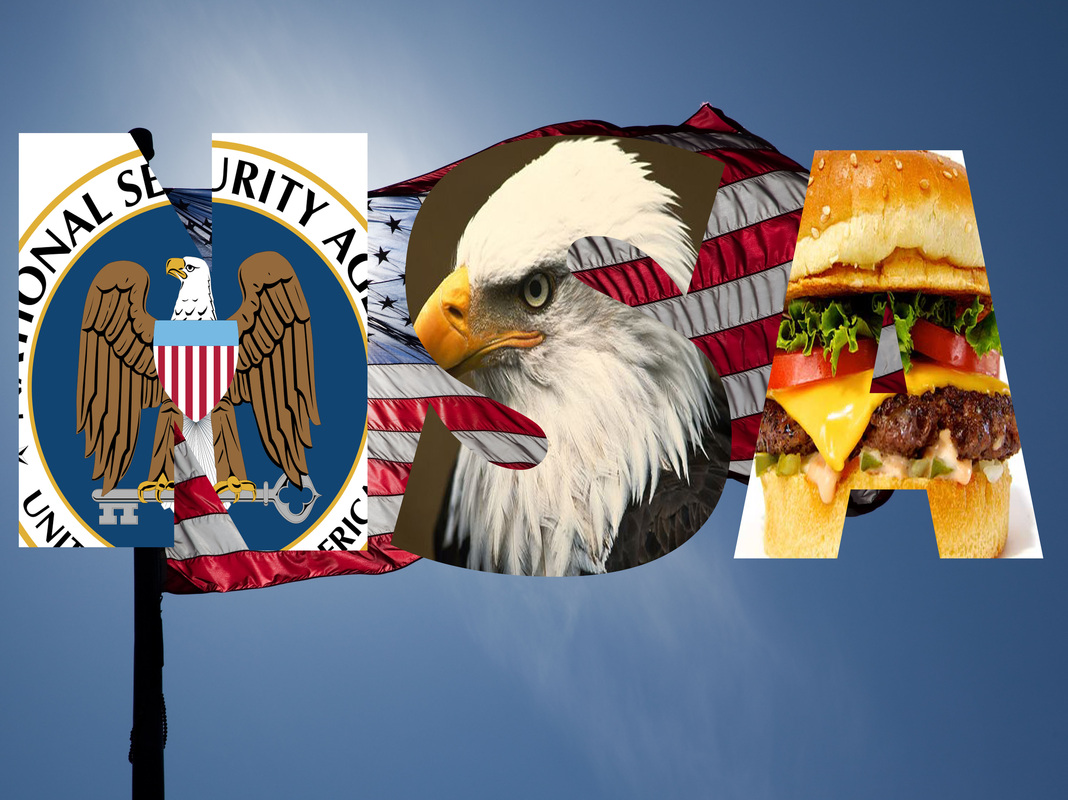
Project 7
#GIFs |
With this project we used the rectangular marquee tool, the smudge tool, and the color balance adjustment layer to make four layers look like fire, then we created a timeline and used that to create a GIF along with the tween tool
|
|
|
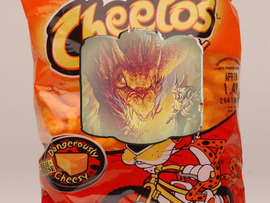
Project 8
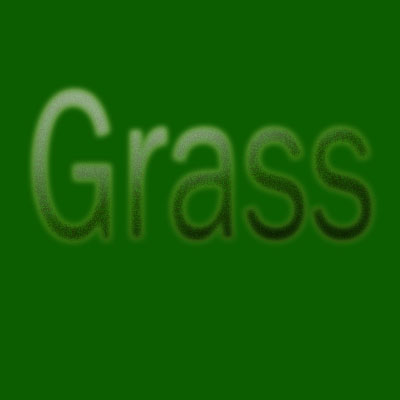
Grass+CHEEZ |
With this project I used the text tool, the sketch thing in the filter gallery, and then Bevel and Emboss, Inner Glow, Outer Glow, and Inner Shadow. CHEEZ
|
|

|
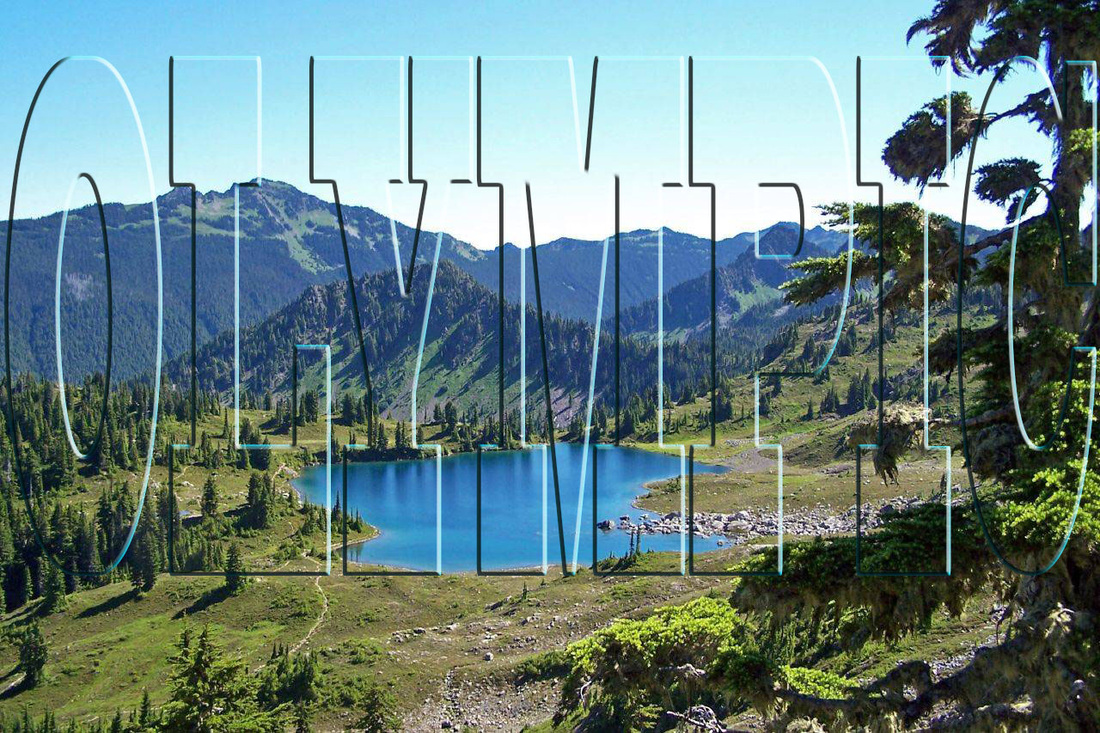
Project 9
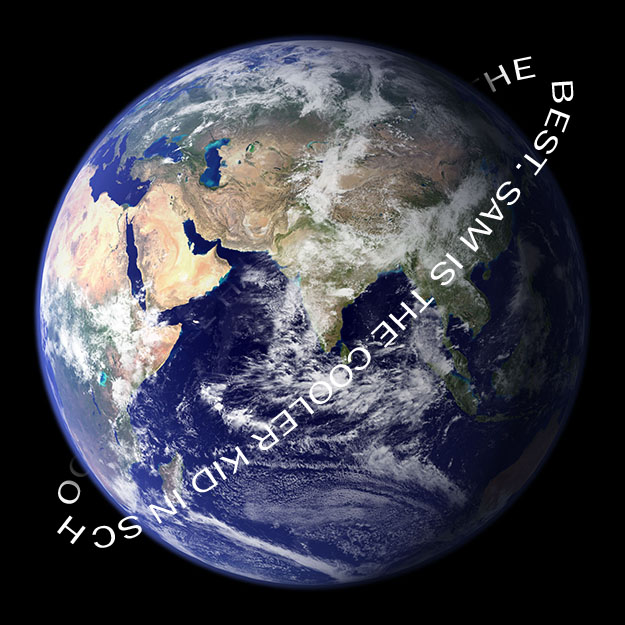
Orbitz |
In this project we worked with the elliptical tool, the work path, the text tool, and we also transformed it a bit and also changed the font style, and also erased it to give it the effect of orbit
|
|
|
Project 10
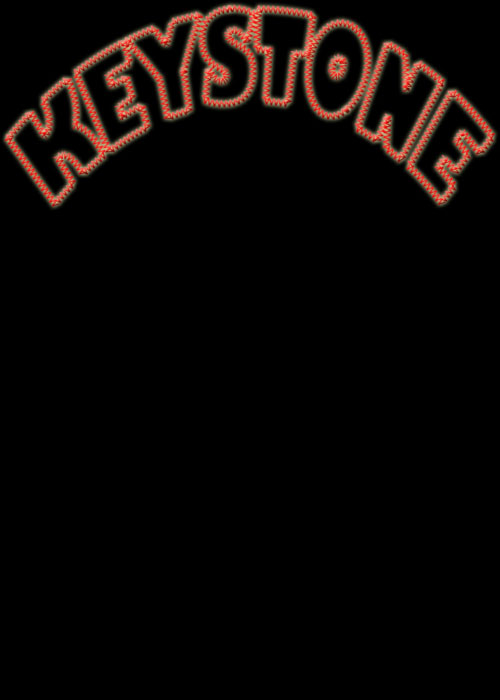
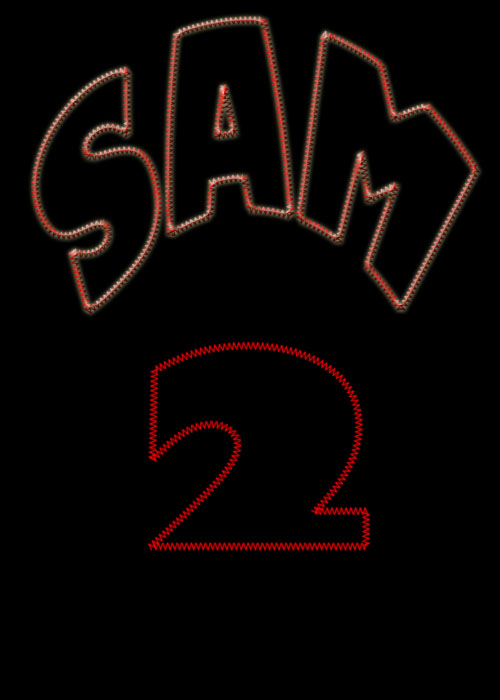
Stitches |
In this project we used the warp tool to transform a text box, and then used the pen tool to stroke a work path we made around it, and made stitches with the brush. We also used a few of the layer styles
|
|
|
|
Project 11
Making a brush with the eraser tool |
I got a picture. Erased a bunch of stuff. Then I made it into a brush. VOILA!
|
|
|
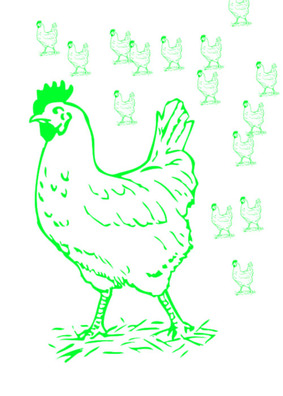
Project 12
Terracotta Army |
In this project, I used the pen tool to select out an area, then I got rid of everything else by right clicking and going to make selection. Then I defined the thing I cut out as a brush preset, and then I layered the rest by making new layer, putting a row of brush things, and then erasing everywhere where it interfered with other terracotta men. Then repeat.
|

|
|
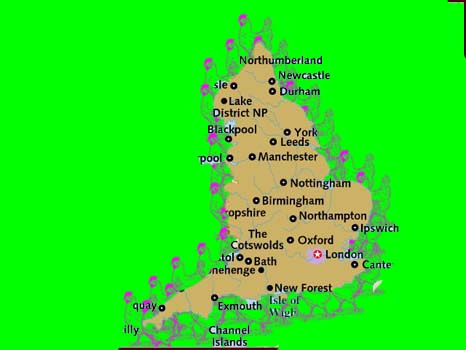
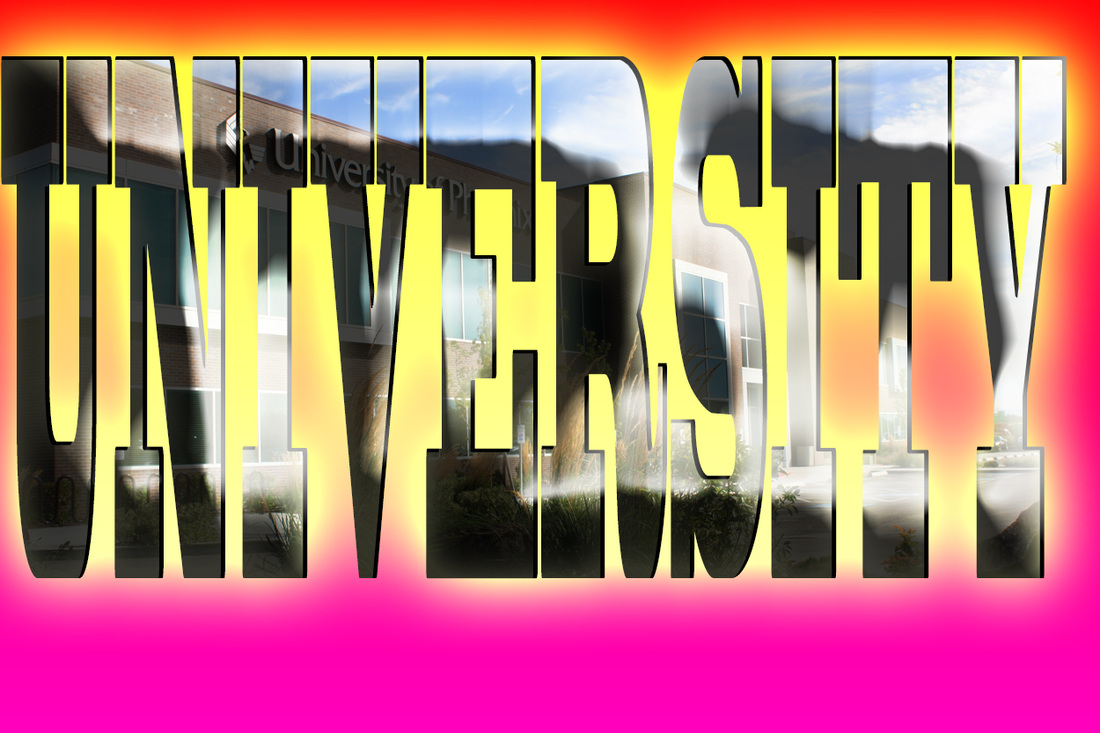
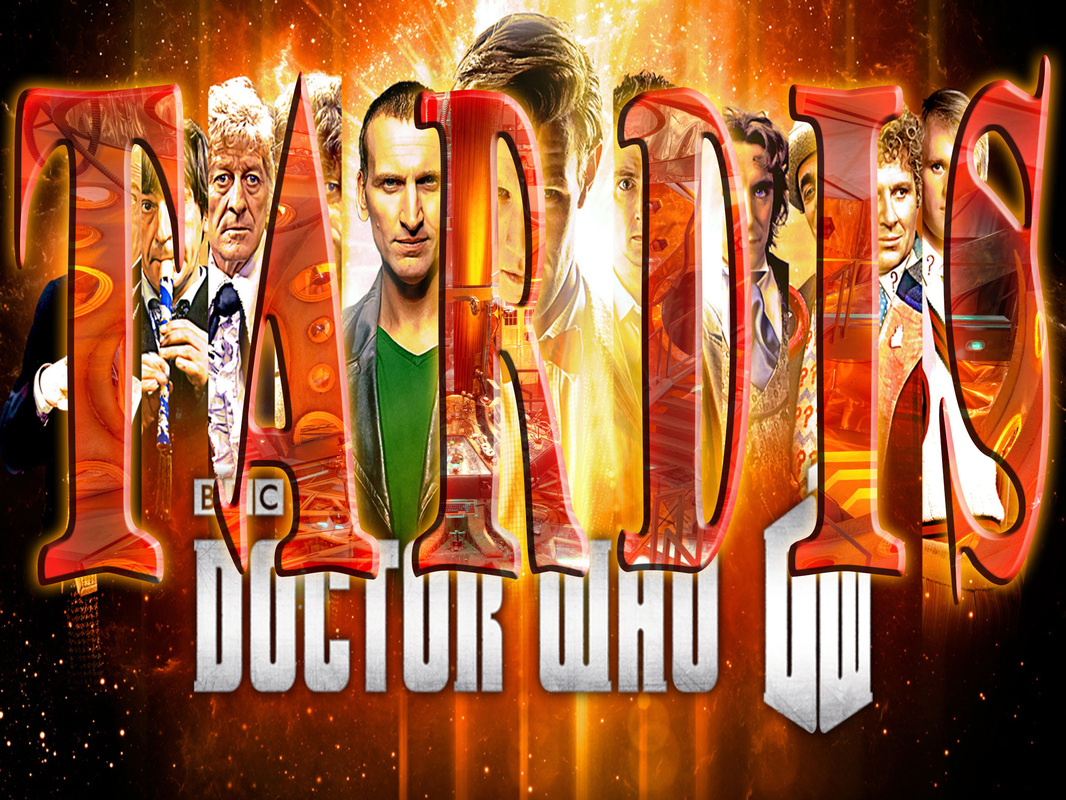
Project 13
Clipping Masks |
In this project, I got an image, created a copy, used the text tool to create a text, then I put the copy on top of the text layer, and then created a clipping mask and VOILA. ART.
|
|
|

|
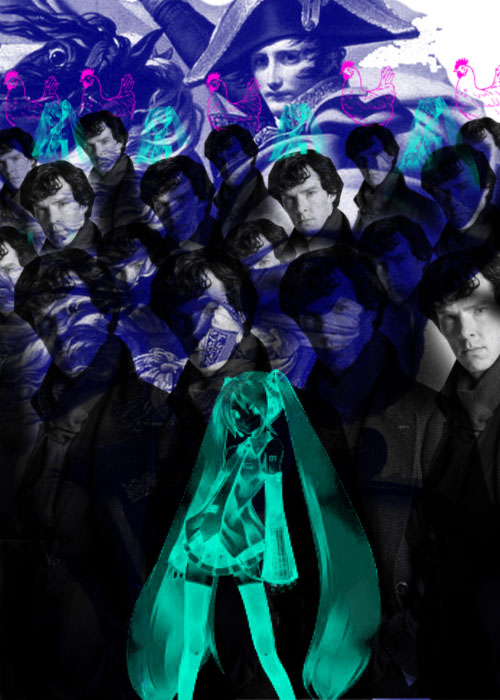
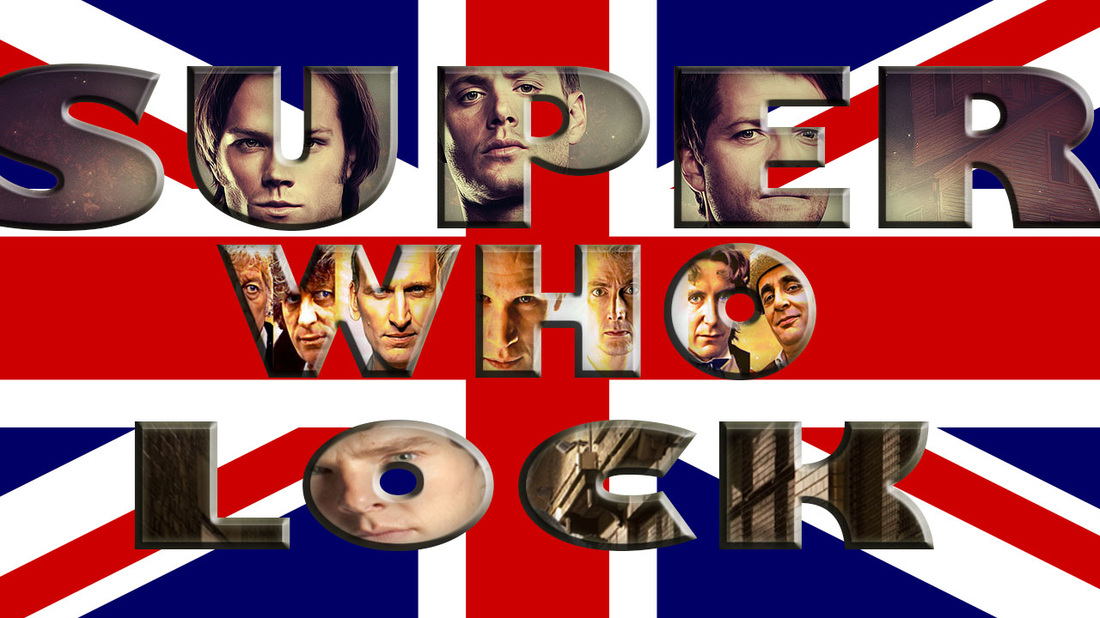
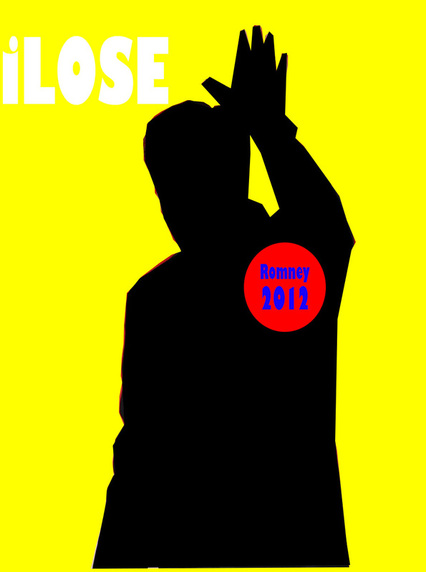
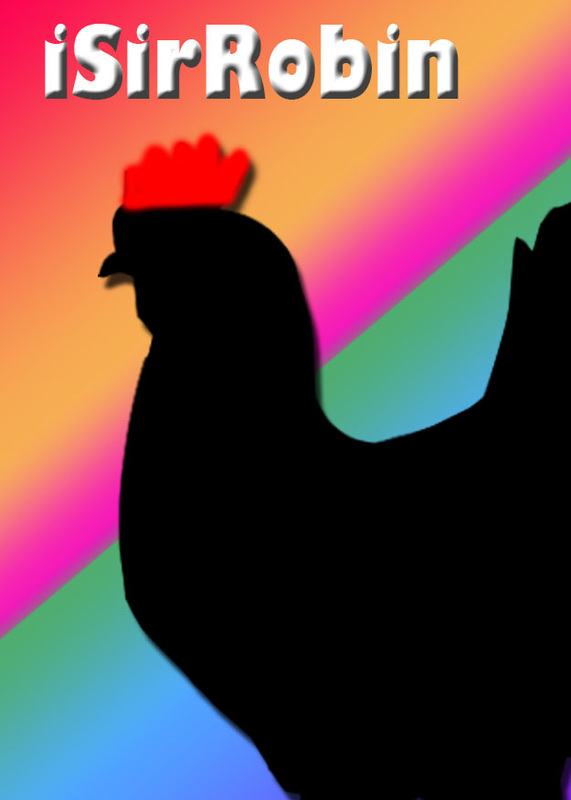
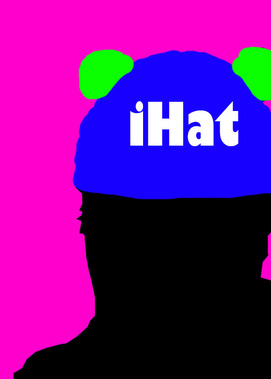
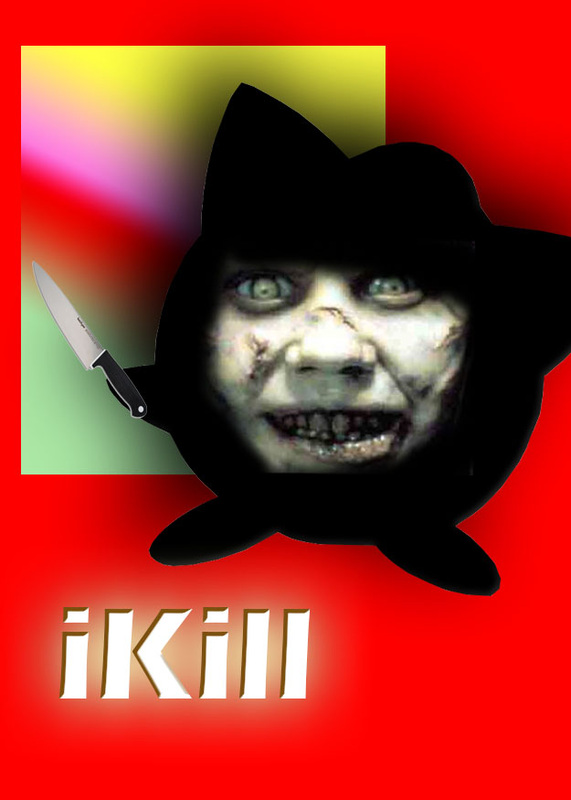
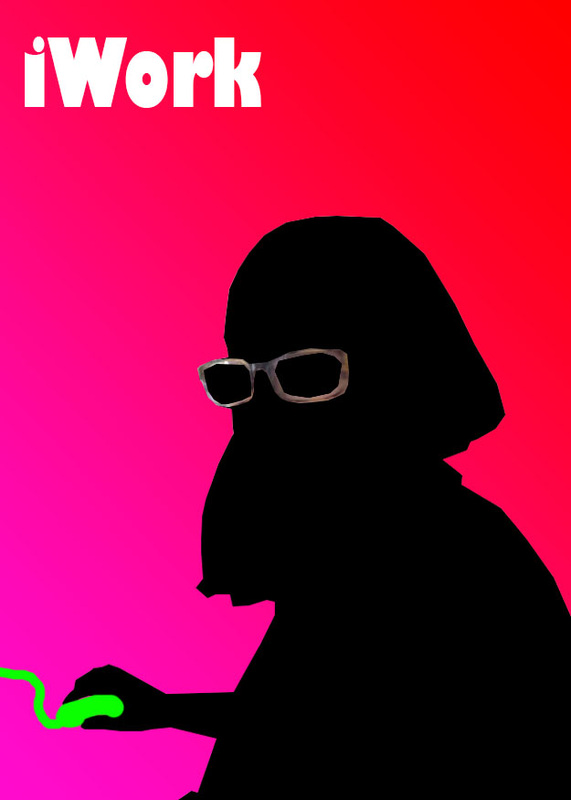
Project 14
Who am i? |
In this project, I made spoofs of the iPod commercial using the pen tool to select images, making them black, and then using text to make the "i"-thing. Also, I made the backgrounds cool colors. Also, I used the layer styles to make the text and people look cooler.
|
|
|
|
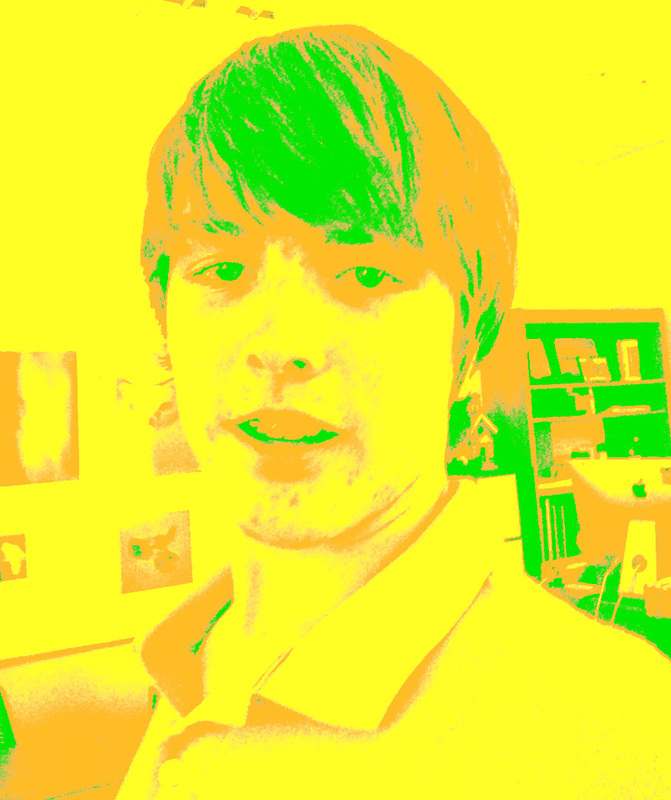
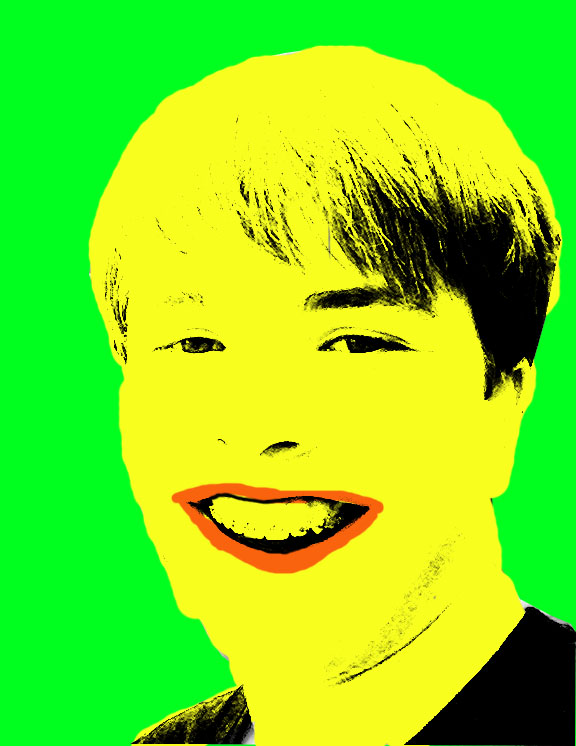
Project 15
I got my highlights |
In this project, I got a picture of moi, then I desaturated it, then I went to select-color range, then got highlights, shadows, and midtones. Then I edit-filled them, while preserving the transparencies. GG. NO RE
|
|
|
|
|
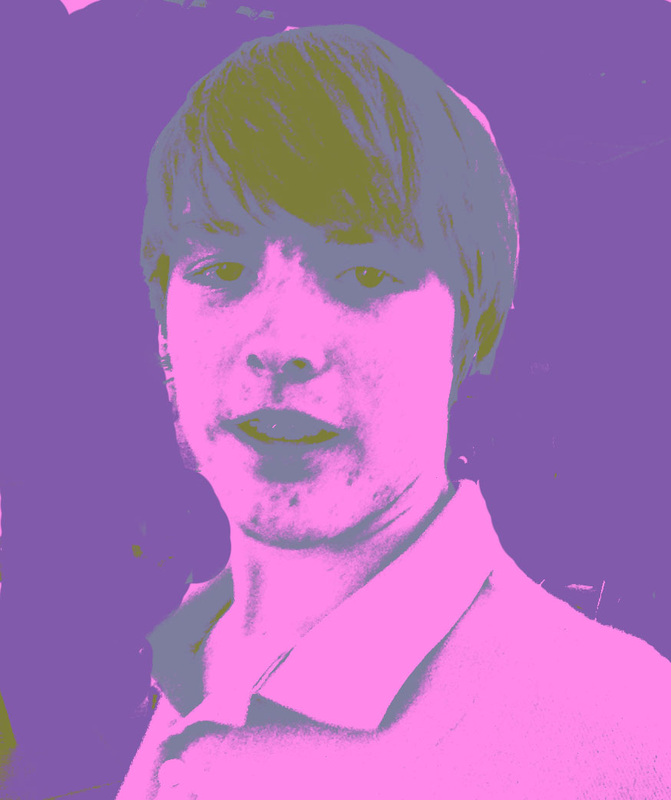
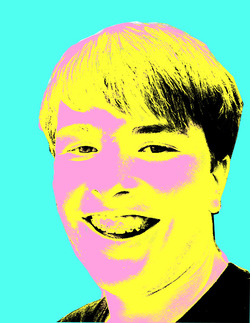
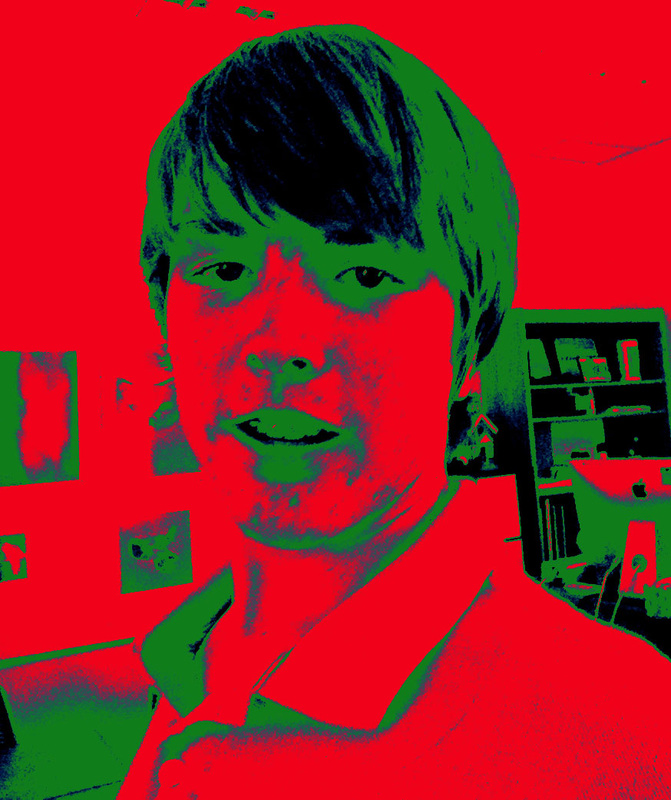
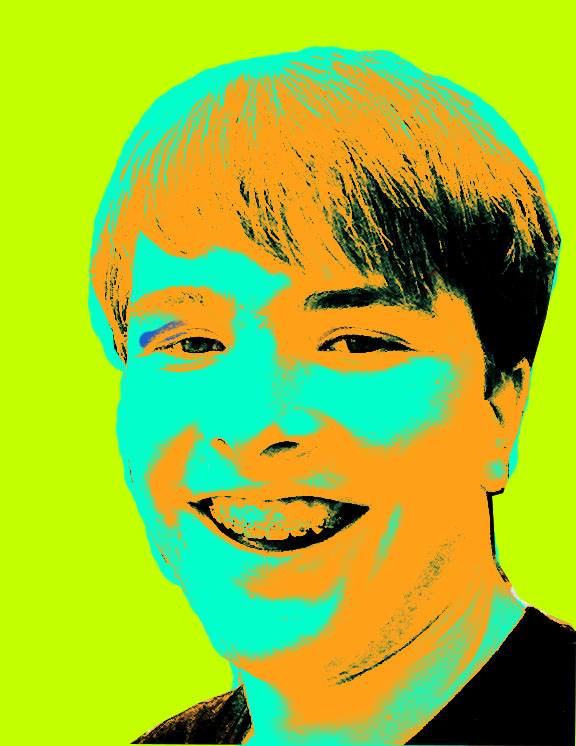
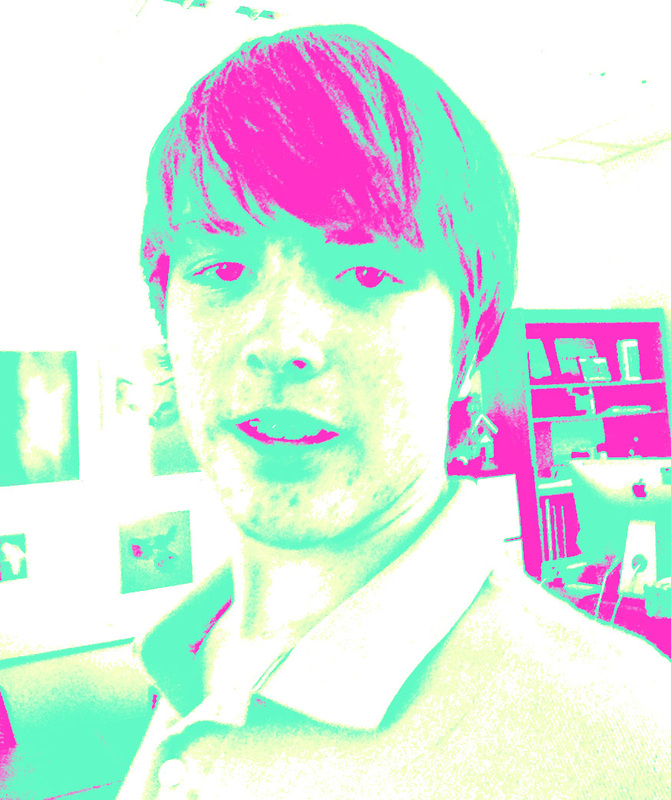
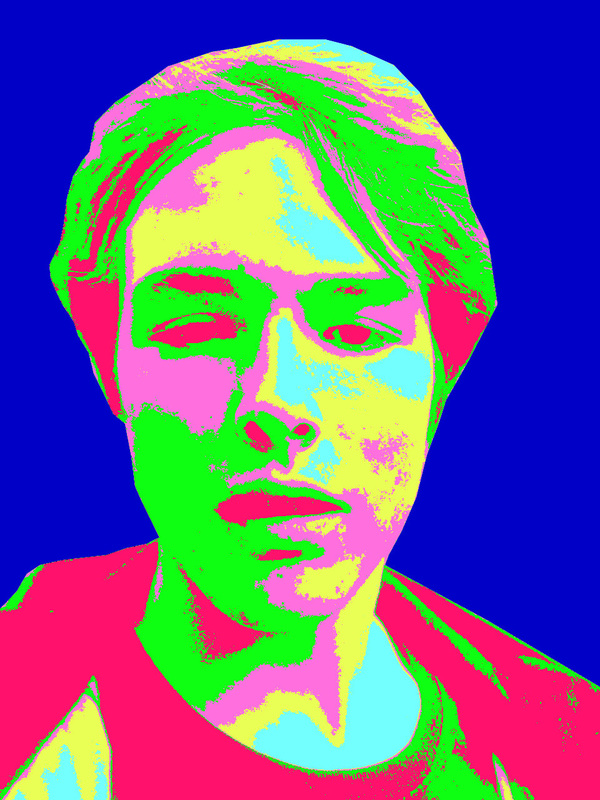
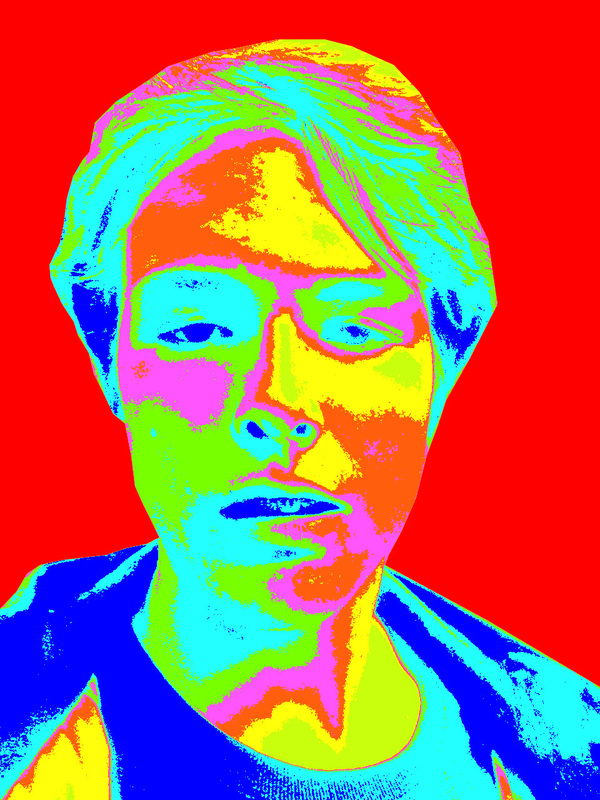
Project 16
Posterizing Post Modern |
In this project, I got a picture of myself, then desaturated it, then I posterized it, then I found the separate color things with color range. Then I edit filled them.
|

|
|

|
|
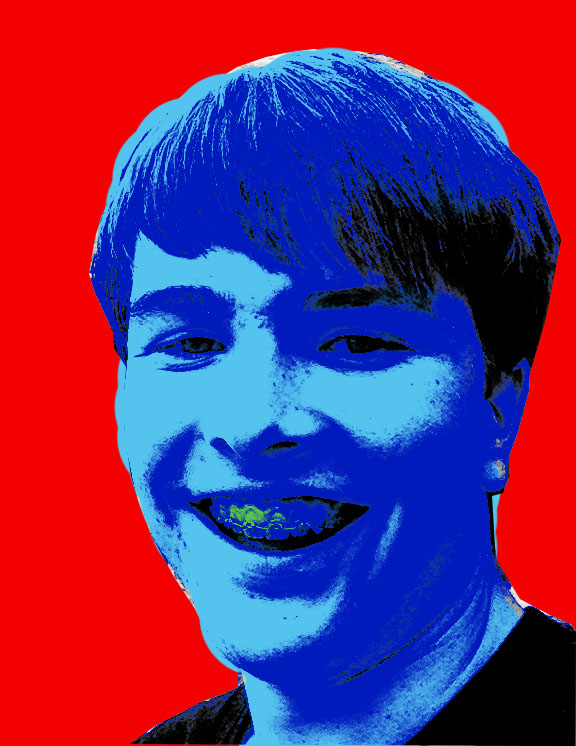
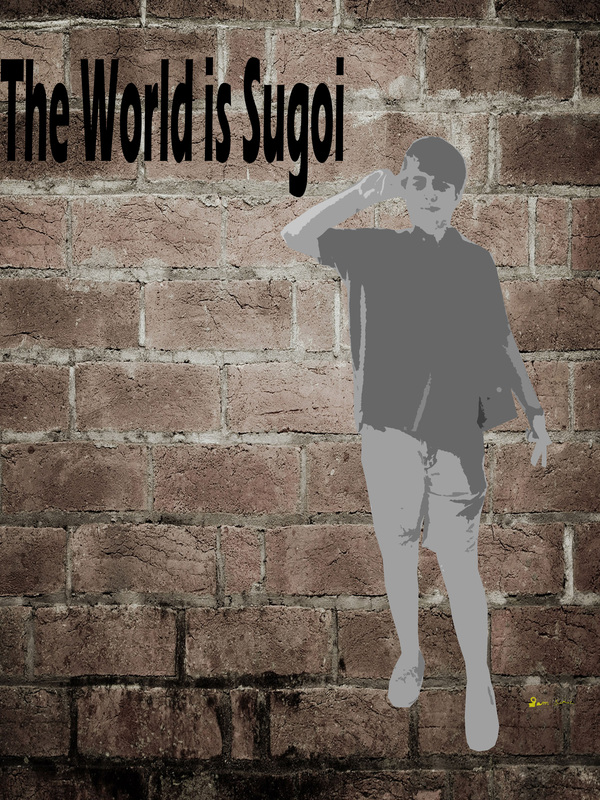
Project 17
We're going to rob a Banksy |
In this project, I got a picture of myself, used filter-cutout on it, and then put a picture of a wall behind it.
|
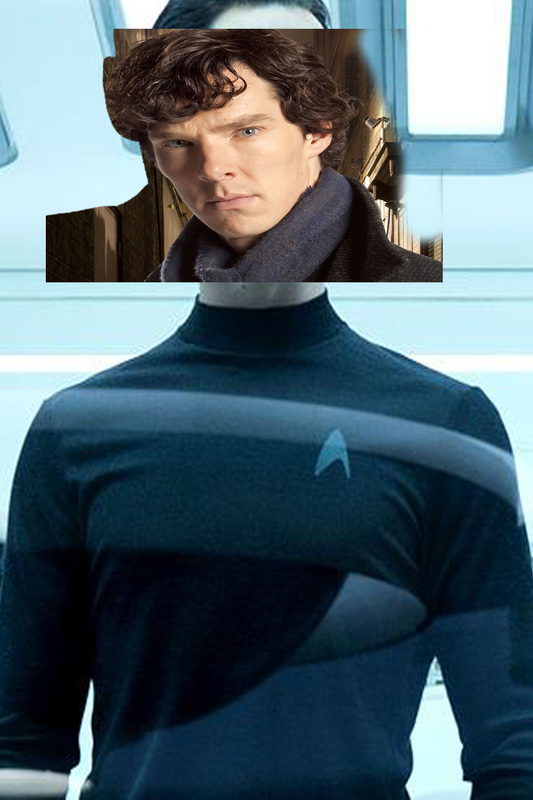
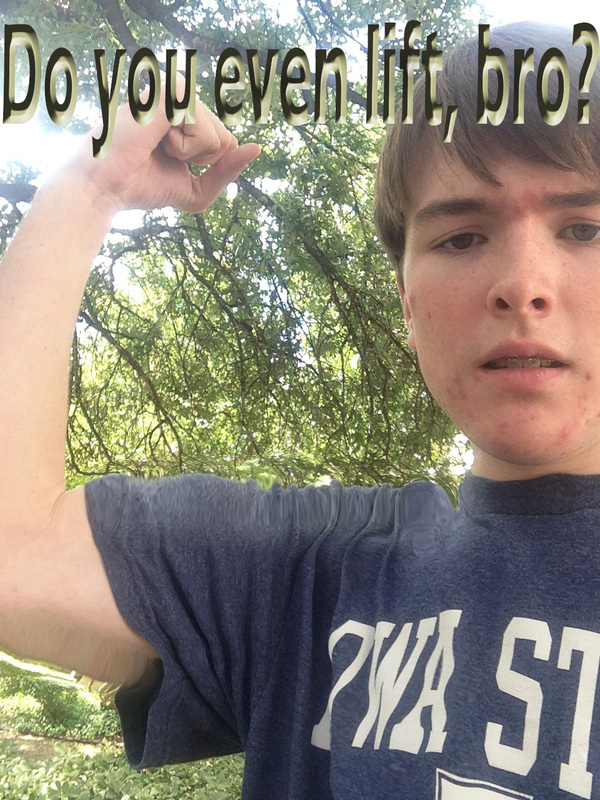
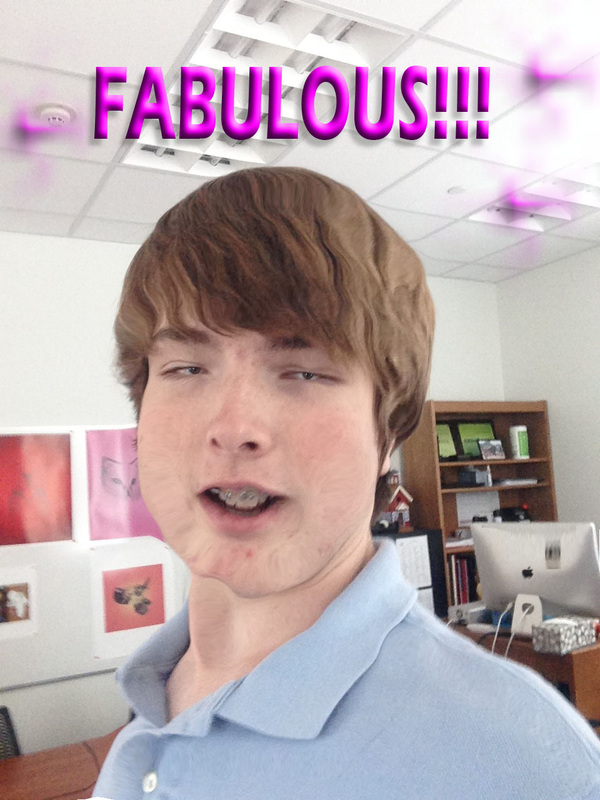
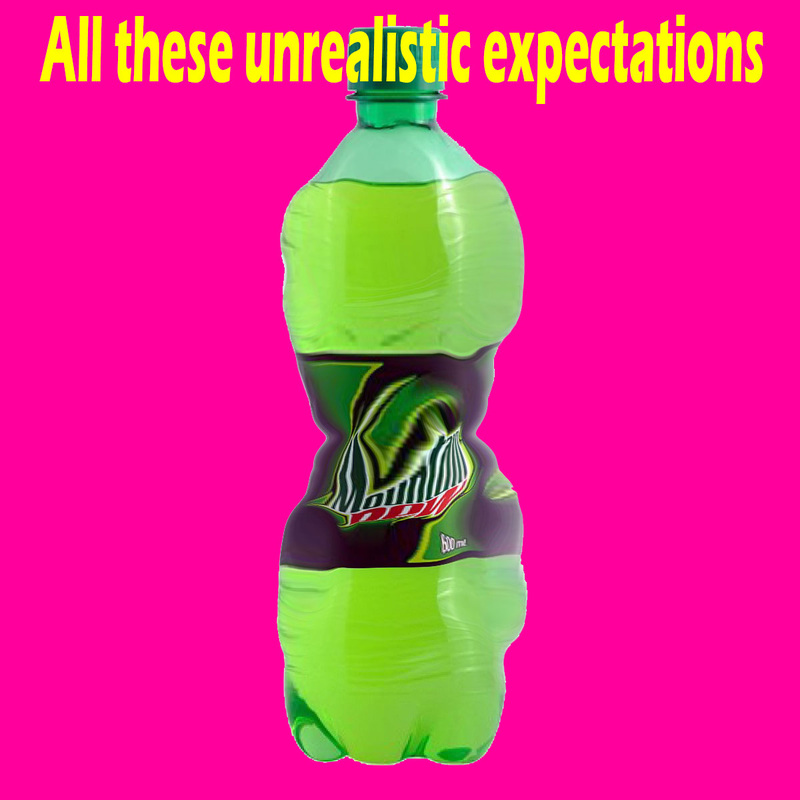
Project 18
This is for my instagram |
In this project, I got a picture of myself, then used the liquify tool to make it look cool. Except for the first one-my muscles are naturally that size. Obviously.
|
|
|
|
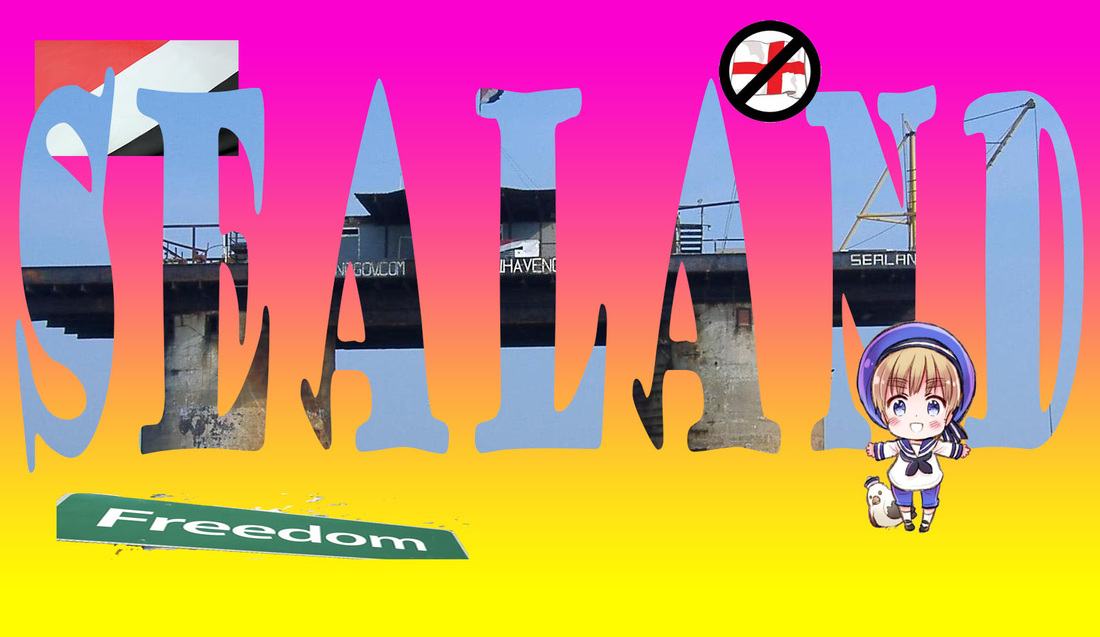
Project 19
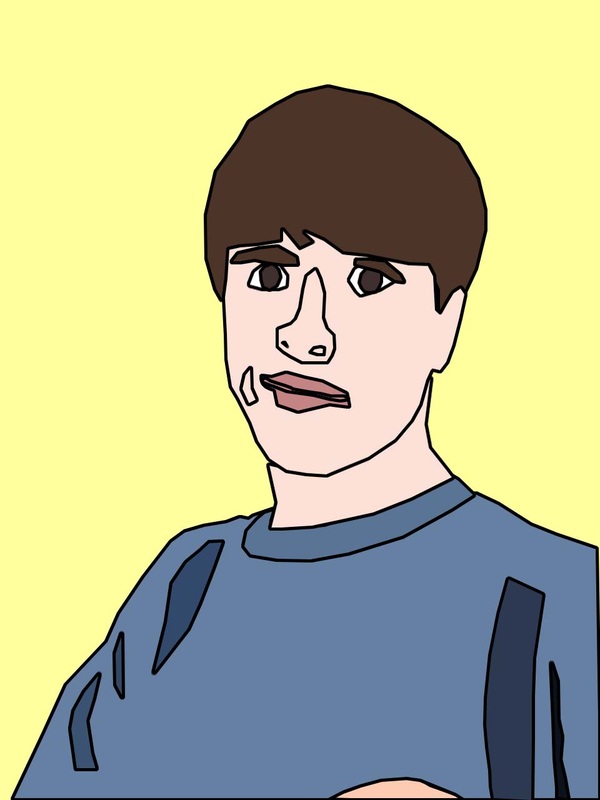
The-area-between-Austria-and-Switzerland Portraits |
For this project, I got a picture of myself, selected distinctive features of myself and put them in separate layers, and then used the eyedropper tool to get the general color, and then I filled the features those general colors. Then I used the stroke feature to stroke the features. Then I added a cool background.
|